

We received the following message from one of our readers: “I cannot change the Windows display language”. If the computer comes with the wrong language or the user makes a mistake in the initial setup, Windows 11 makes it easy to change the language settings in the operating system.
It is worth mentioning that before changing the default language of Windows 11, if several computers are using the same Microsoft account, the language preferences will be automatically synchronized with the other computers. Therefore, it is necessary to disable language synchronization if you do not want the changed language to be synchronized by the other machines.
In this post, we will guide you through the necessary steps to change your computer’s language using Windows 11.
How to disable language sync
To disable syncing language settings in Windows 11, follow the steps below:
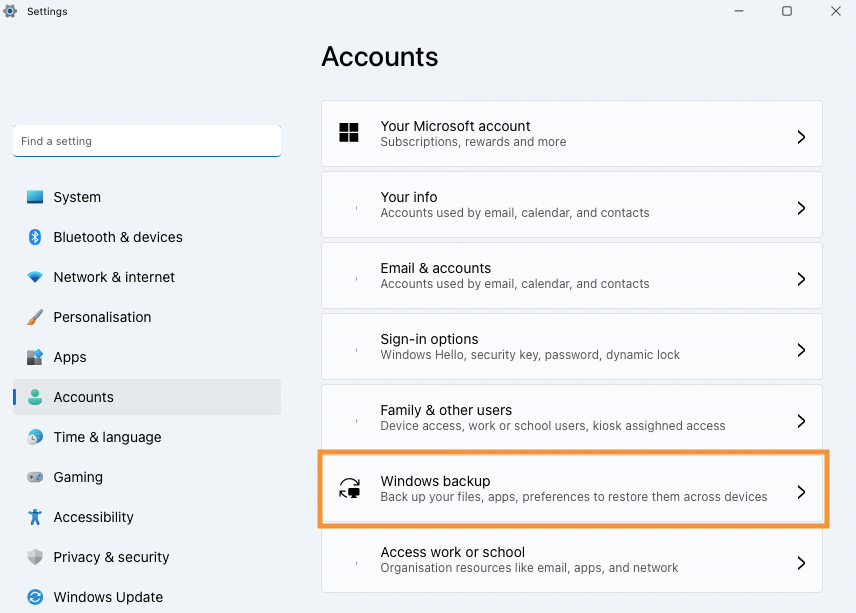
- Open Settings.
- Click Accounts.
- Click the Windows Backup page.
- Click the Remember my preferences setting.
- Clear the Language Preferences option.

After following the steps above, you will be able to change the language of Windows 11 on one device without affecting other machines that are using the same Microsoft account.
How to change Windows 11 language
To change Windows 11 language, follow the steps below:
- Open Settings.
- Click Time and Language.
- Click the Language and Region page.

4. Click the Add a language button.

- Search for the new language or country name.
- Select the language.

- Click the Next button.
- (Optional) Check optional language features to install on Windows 11.
- Check Set as my Windows display language option.

- Click the Install button.
- Click on the Exit button.

12. Log in to your account to start using the new language.
After following the above steps, Windows 11 will change the default language.
Summary
This tutorial shows you how to change Windows language in Windows 11.
So, follow the steps above and say in the comments if you managed to change the language of Windows 11